


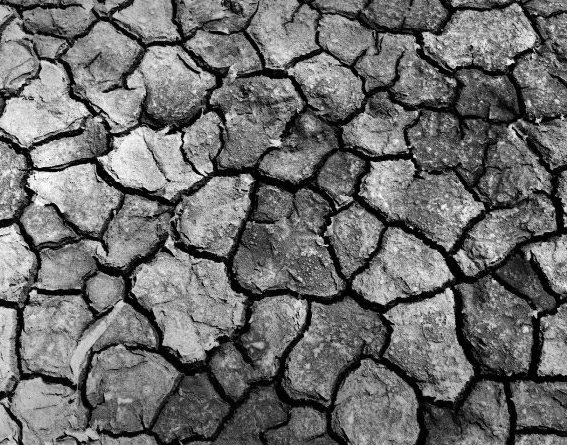
I'll be working on the 2nd image. Based on that image, start a new document 700x500, or whatever size you want, you can crop it later.
Now open up the mud image, do a CTRL+A to select all, then go to the new document you just created and press CTRL+V to paste the image.
Now use the eliptical marquee tool and make a large round selection on the image. Hold SHIFT while you create the selection to make a perfect round circle.
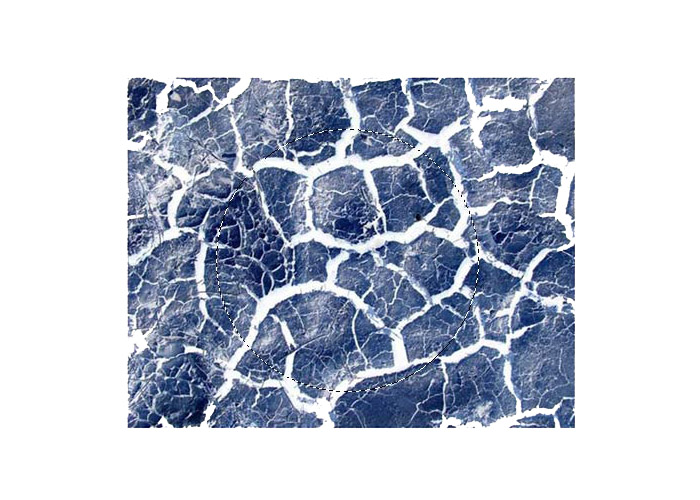 Click to view larger image
 Now go to Select->Inverse,
Then hit Delete so you are left with a circle from the mud image.
DO NOT DESELECT YET.

Now, while you still got your selection, go to
SELECT->INVERSE again to select the shape.
Now go to Filter->Distort->Spherize. Set amount to 100%. Then do it again, this time, 50%. You can now deselect.
Now lets fill the background layer (the layer underneath the mud layer) with black.
Then go to Layer->Flatten Image
Now go to Filter->Sharpen->unsharp Mask.
Amount: 500%. Radius: 1.7px. Threshold: 122 levels

Go to Filter->Distort->Polar Co-ordinates.
Options: Polar to Rectangular.
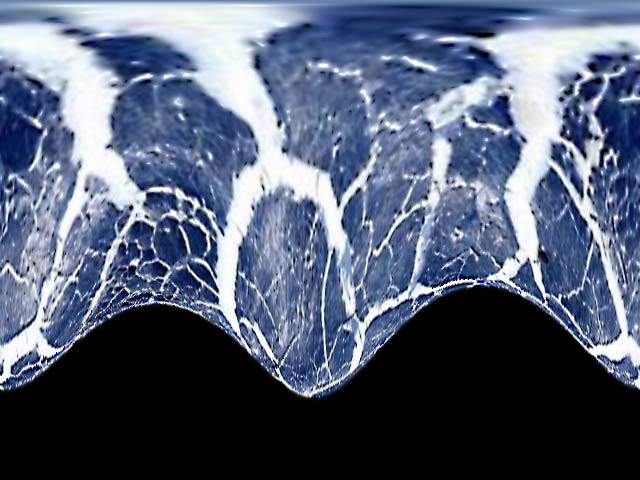
Go to: Image->Rotate Canvas->90CW.

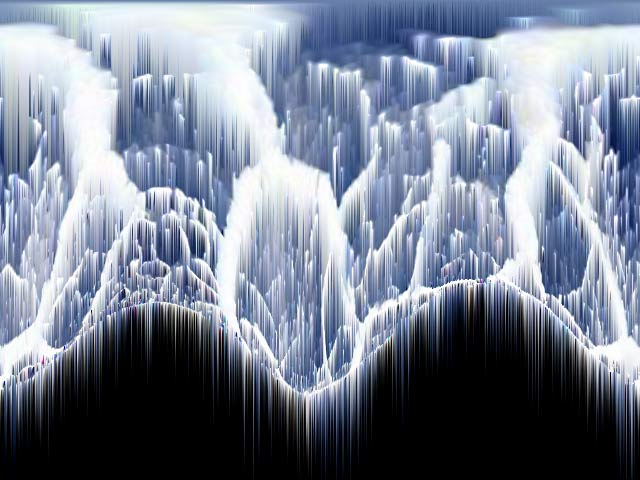
Apply: Filter->Stylize->Wind
Method: Wind. Direction: From the right. Hit CTRL+F to re-apply.

Go to: Image->Rotate Canvas->90CCW.
Finally, apply Filter->Distort->Polar Coordinates.
Options: Rectangular to Polar.
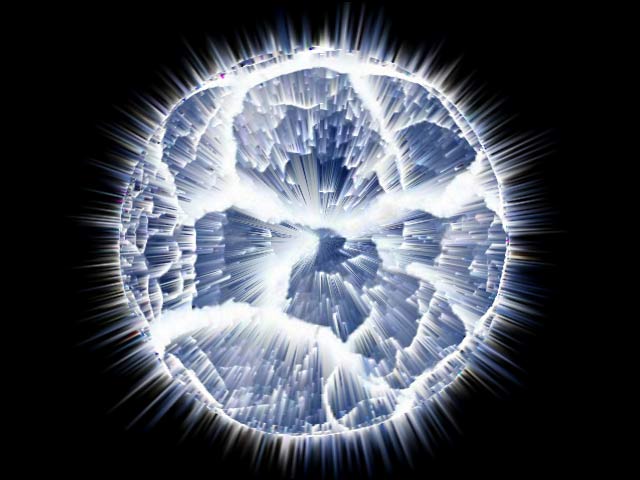
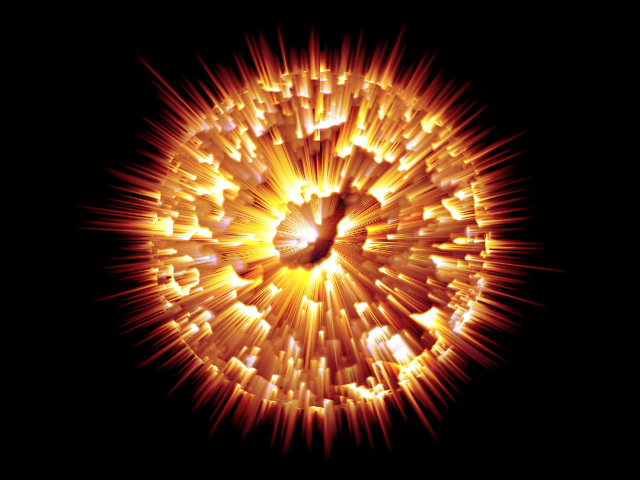
There you go, now all you do is just play around with colors, by either using Image->Hue and Saturation, or Image->Color Balance. I used color balance in the image below, sometimes I do a bit of both.
 Make sure the colors don't get washed out, create a nice balance of light and dark values. This tutorial will work for basically any flat image with textures such as cracks. Here are a few variations.
Before:

After:
Before:
After:

To add a bit more spice to it, make a background nebula.
Change your front color to red and back color to black.

Create a new layer.
Apply Filter->Render->Clouds.
Then Filter->Render->Difference Clouds.
Hit CTRL+F (once or twice) to re-apply.
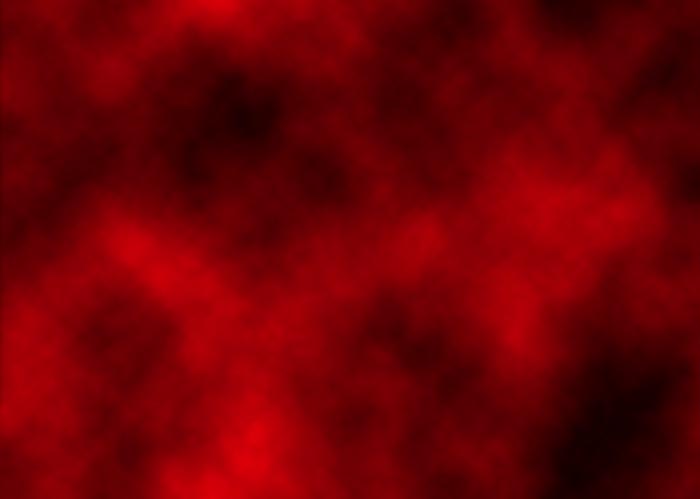
Set the layer's Blending Options to Lighten.
You can experiment with other layer settings for different whacky effects.

There you have it.
This same process can be used for many other effects in different situations.
Change the numbers and settings at each step for variety.
Use the smudge tool in the Liquify filter to stretch
some light streaks outward for more intensity.
I hope this has been helpful to anyone interested.
I can't believe how that works!
ReplyDeleteit went all crazy, that back to it's normal shape except exploded!
you're crazy!
o_0
ReplyDeleteI gotta say, I'm pretty impressed here. That's one hell of a fully thought-out and well-planned graphic of a planet exploding.
ReplyDelete