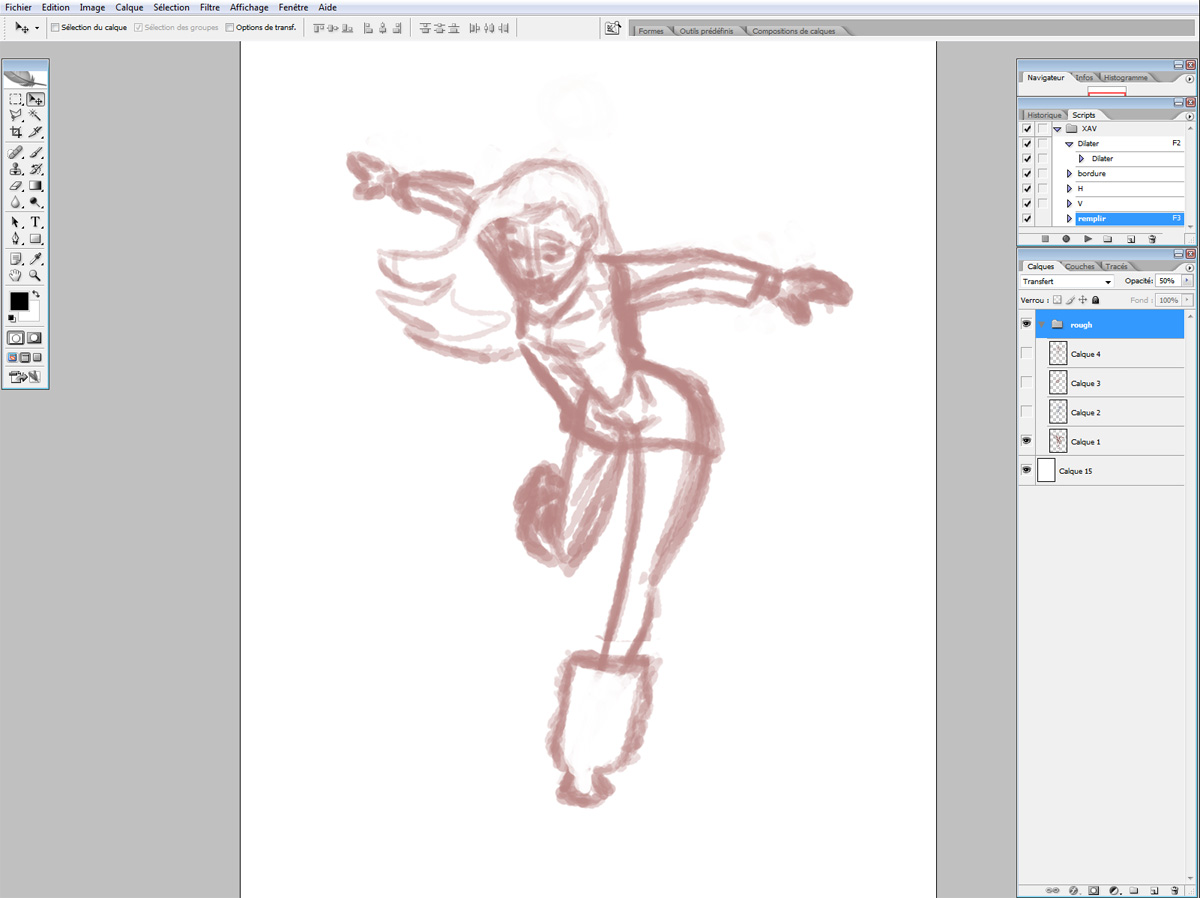
1. The drawing, with a simple home made brush, very rough.
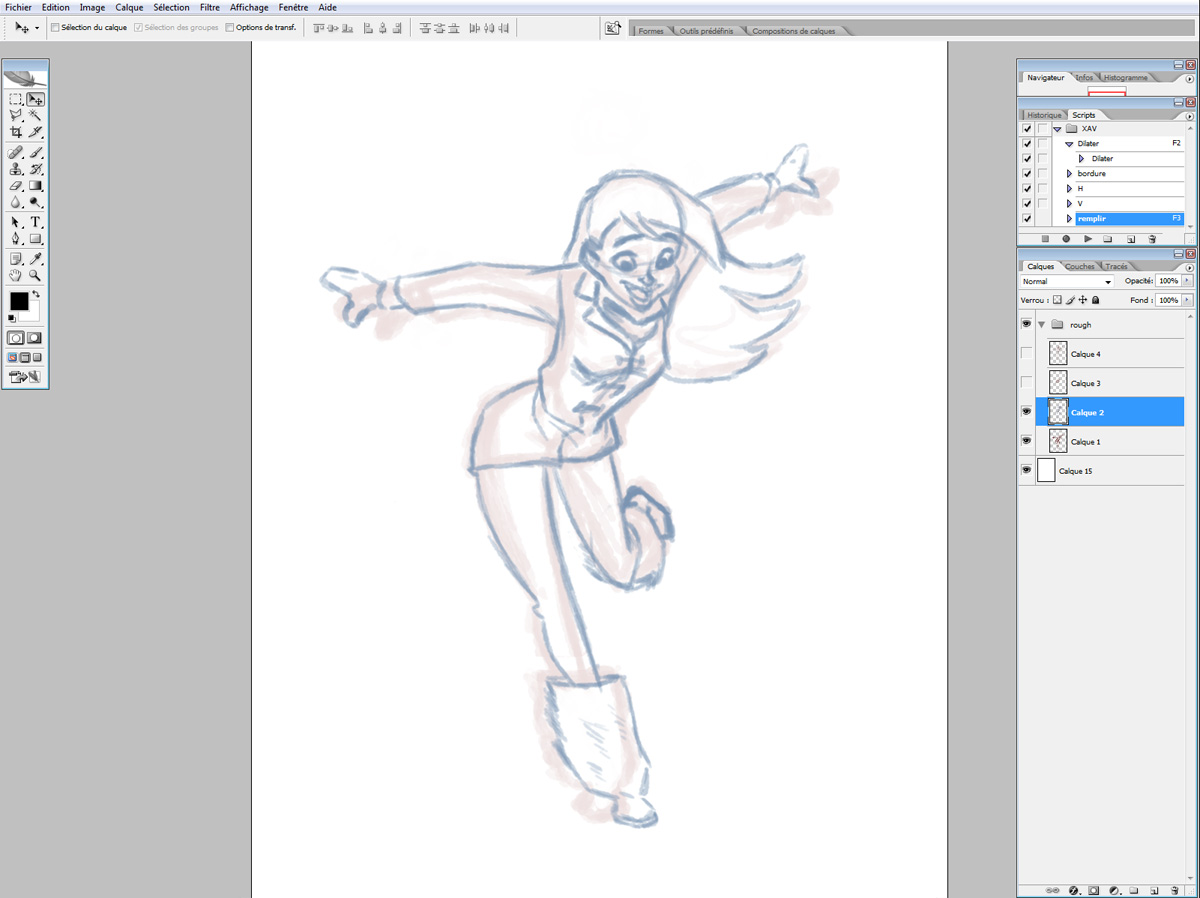
 2. I flop the drawing and make a cleaner, more refined pass.
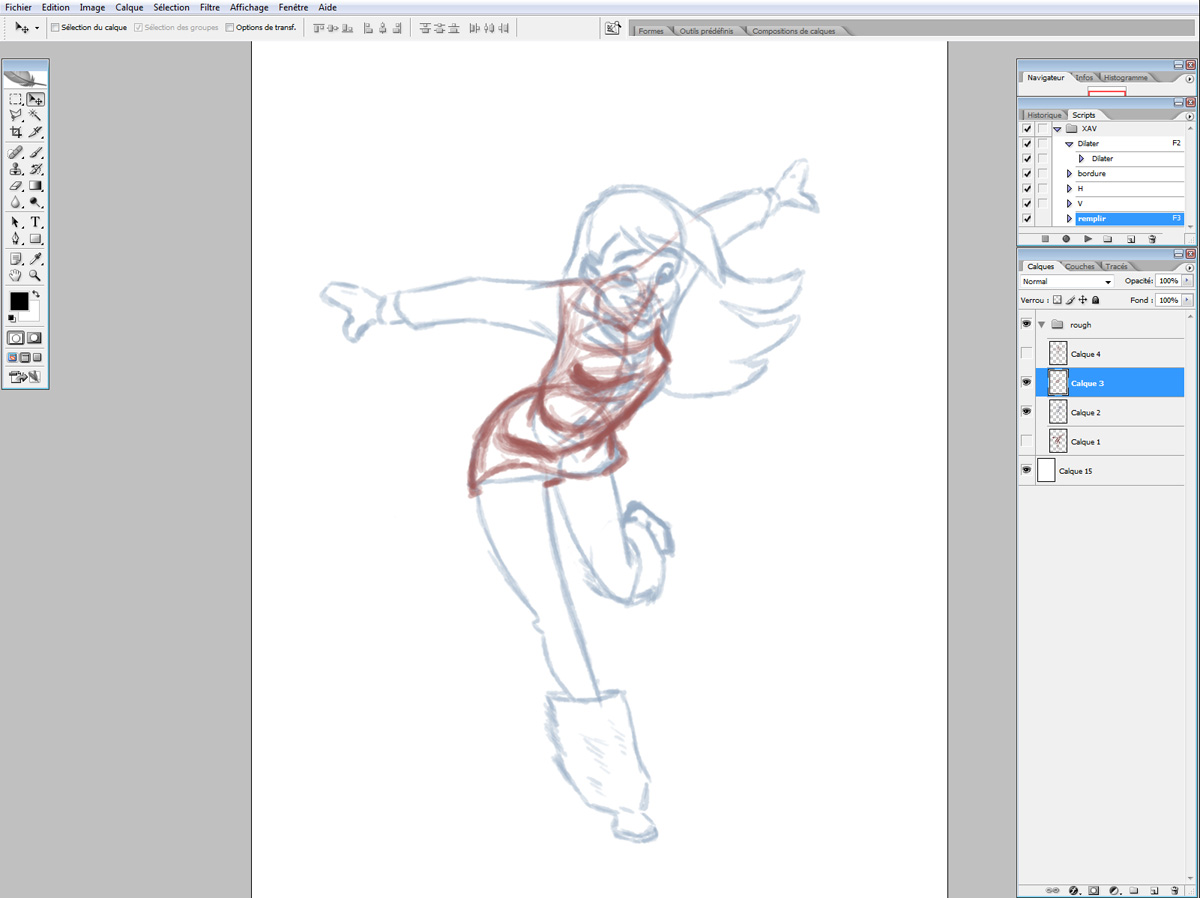
3. I rebuild the tricky parts to be sure of the construction and perspective.
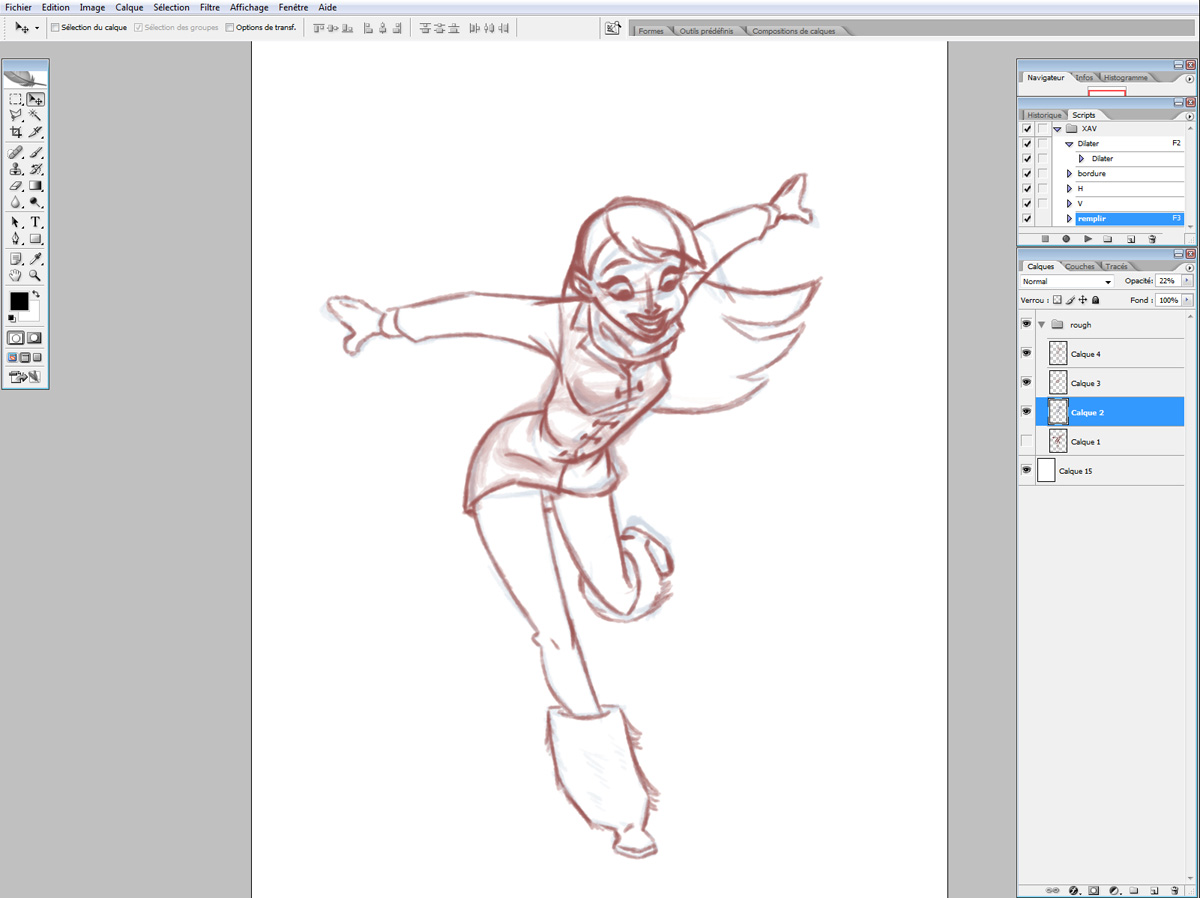
4. I produce the final drawing with a clean line and I improve on some parts (like the face).
5. I start the base colors with the line above.
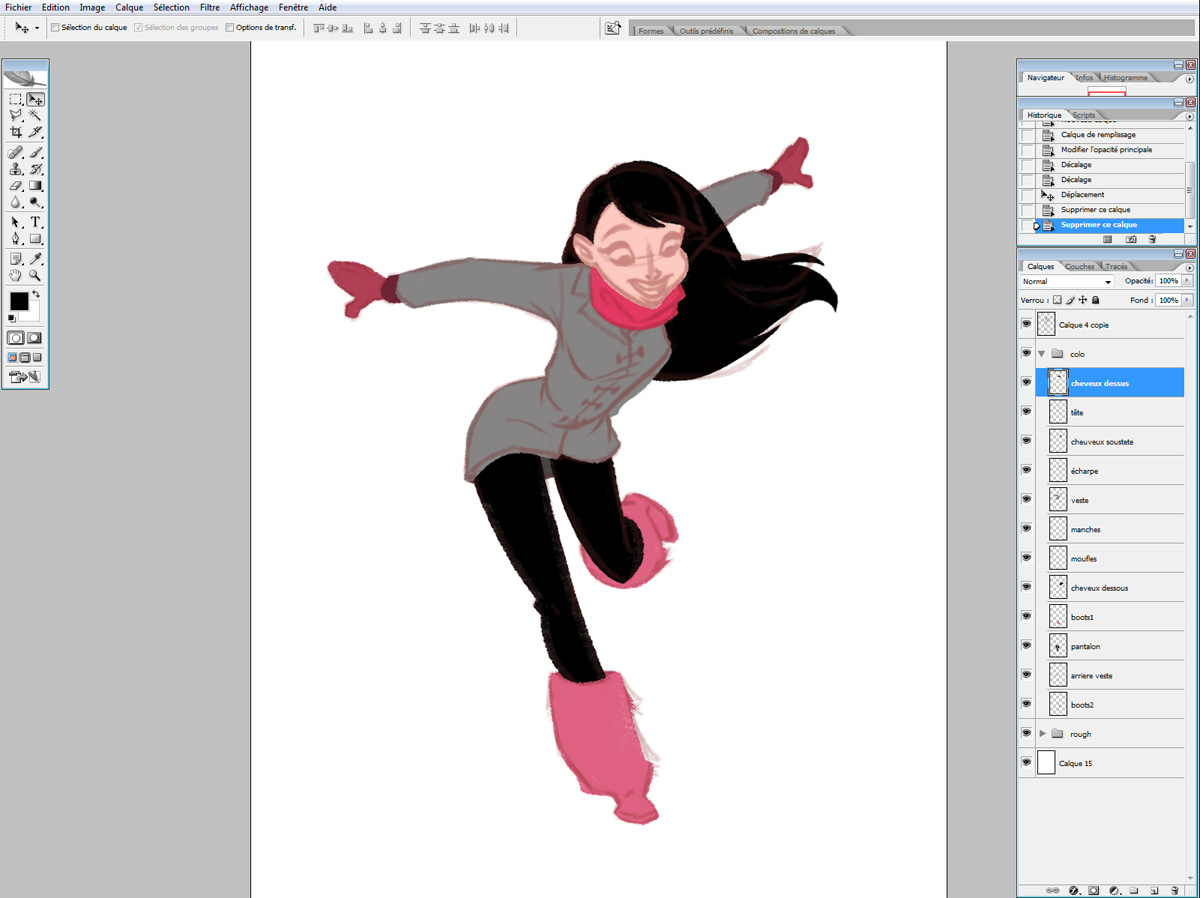
6. Every part (face, jacket, hair, etc) on a separate level.
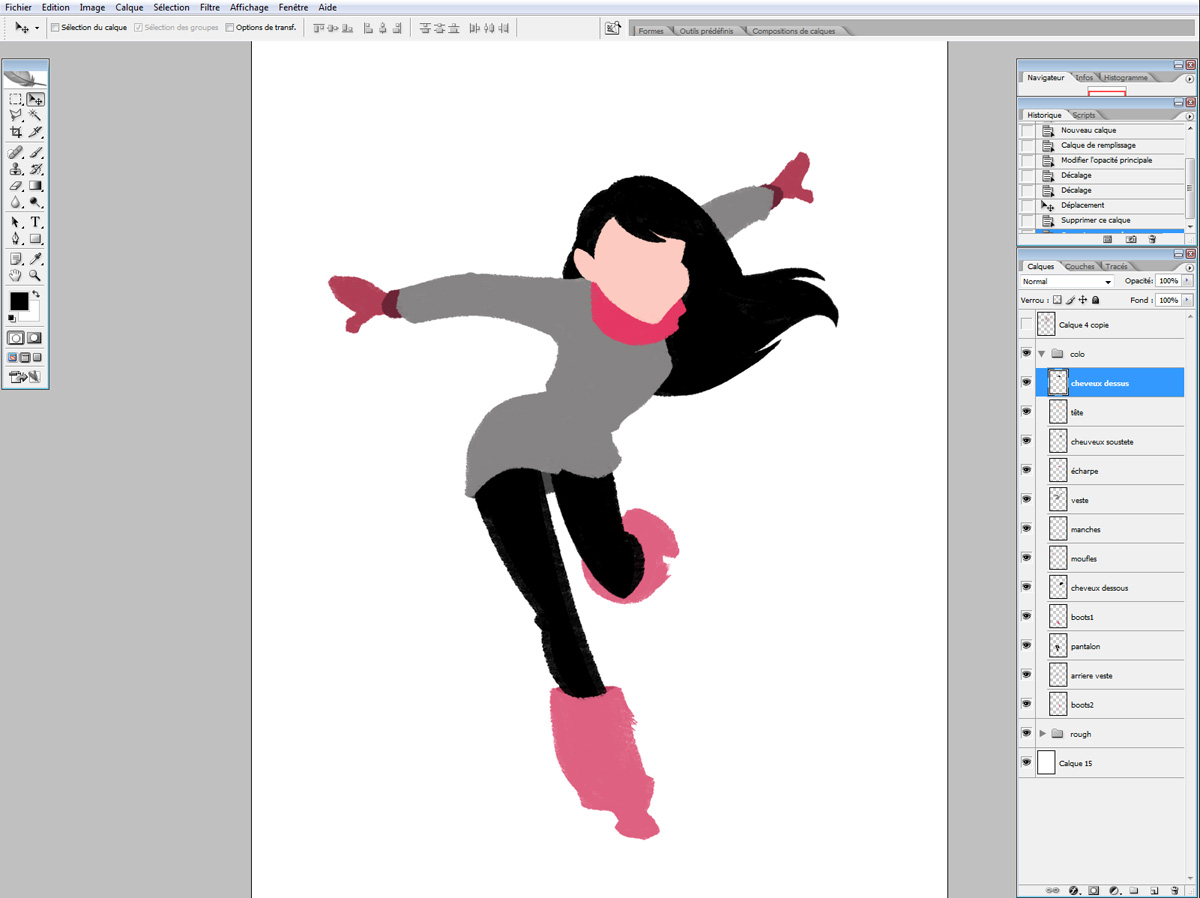
7. Details - The face.
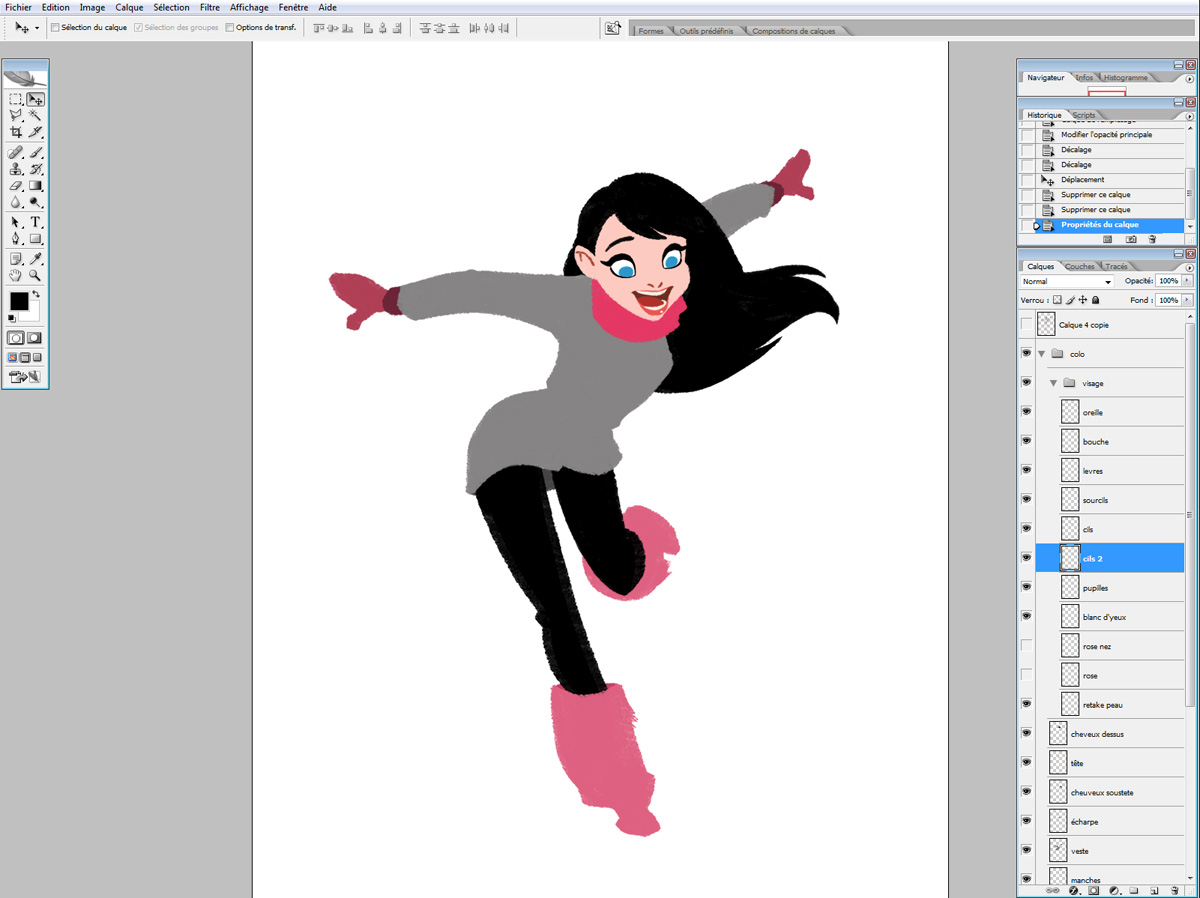
8. Cheeks and nose.
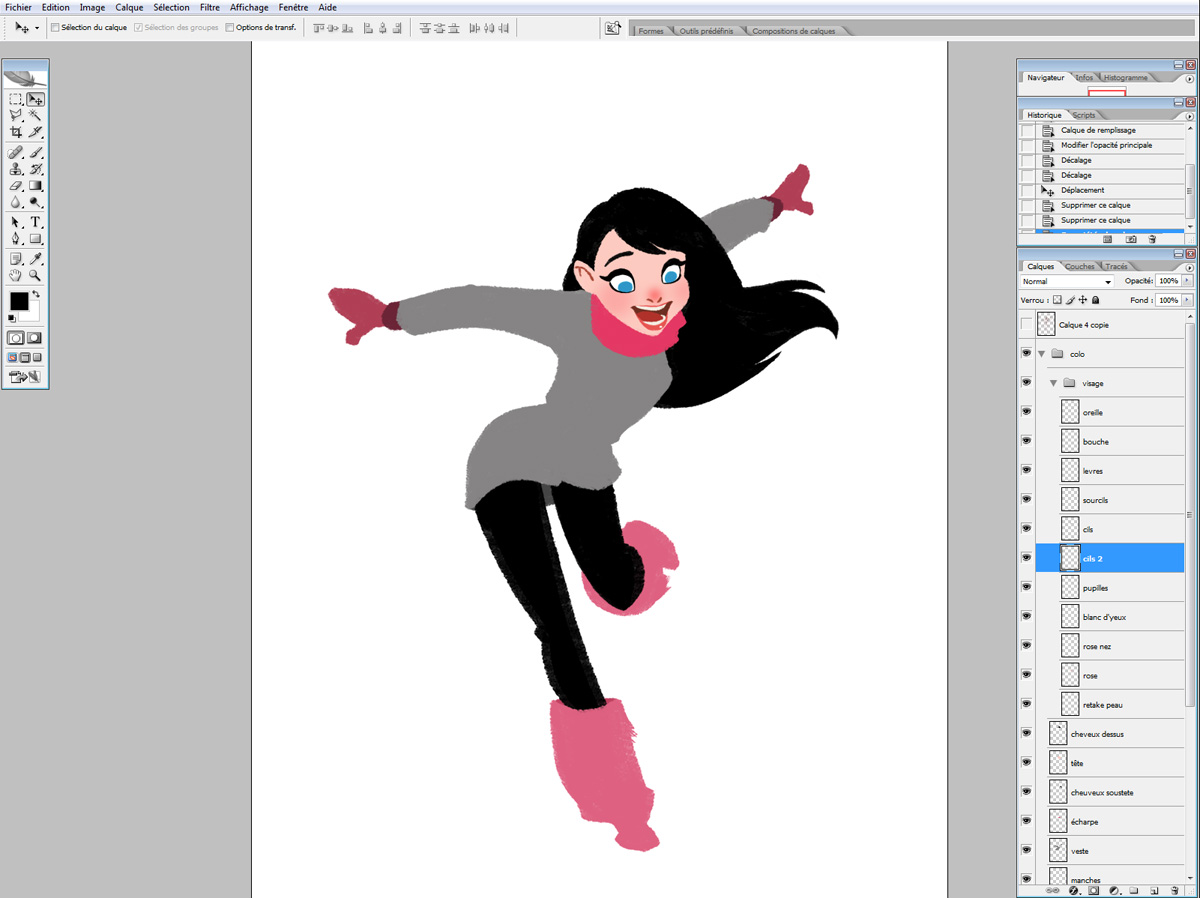
9. I add more colored-lines on surfaces to show overlap, drapery, and other details.
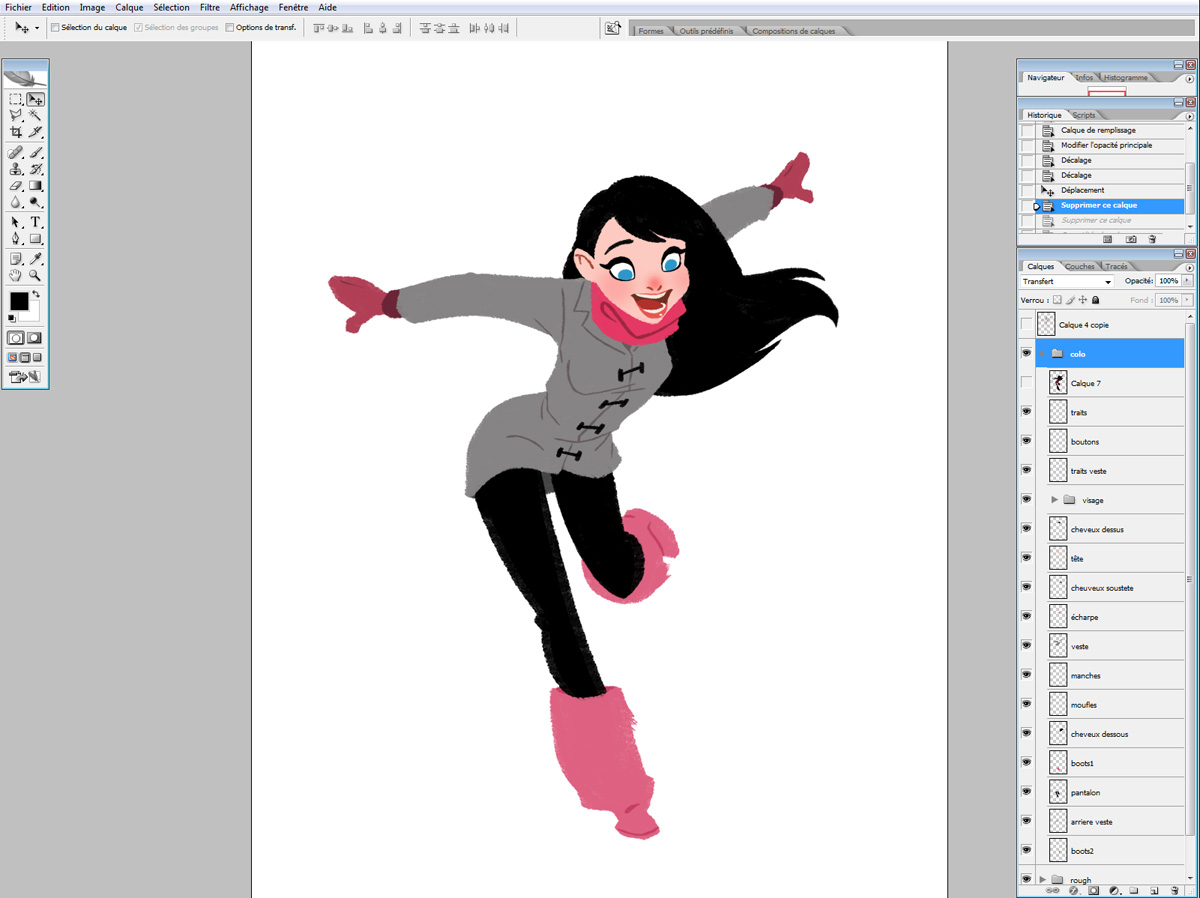
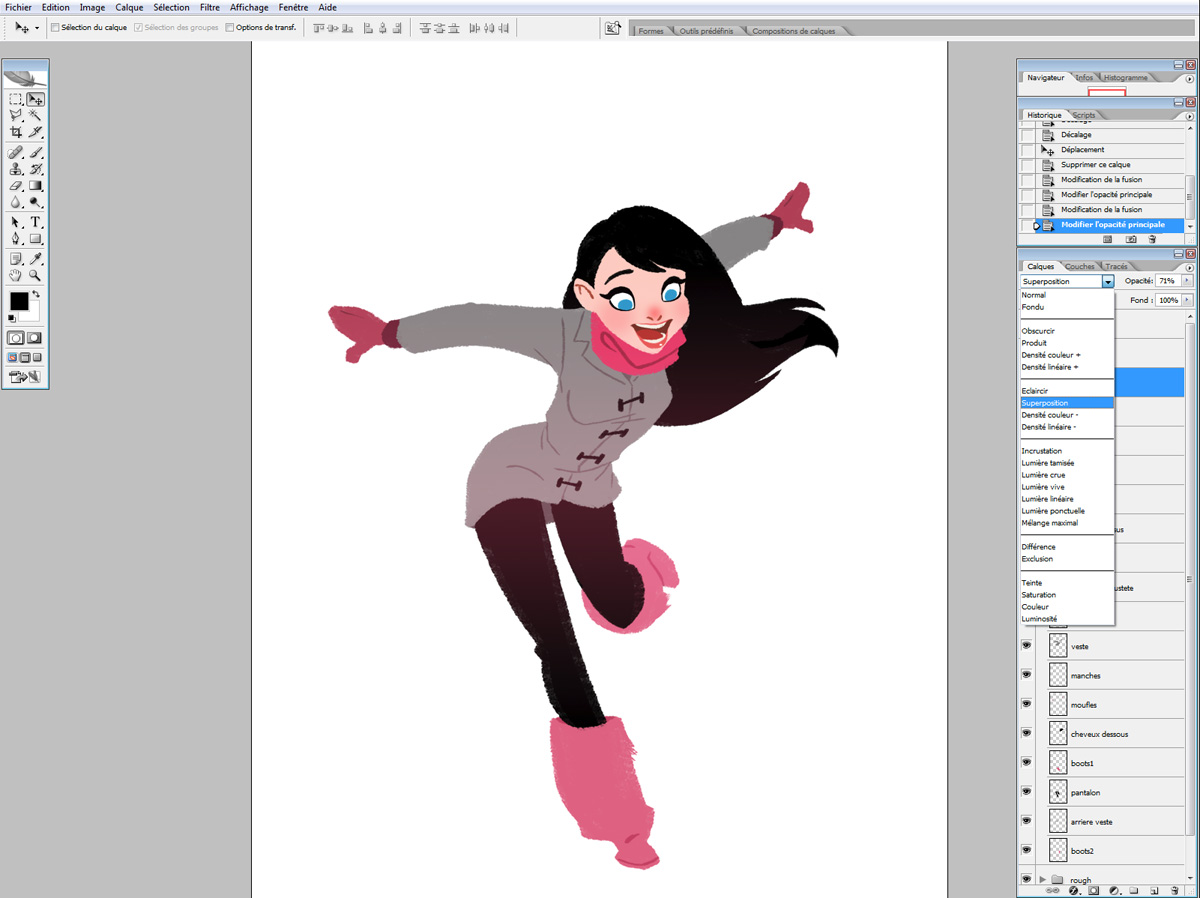
10. With the gradient tool, I make a subtle color effect. and mask it to the shape of the character.
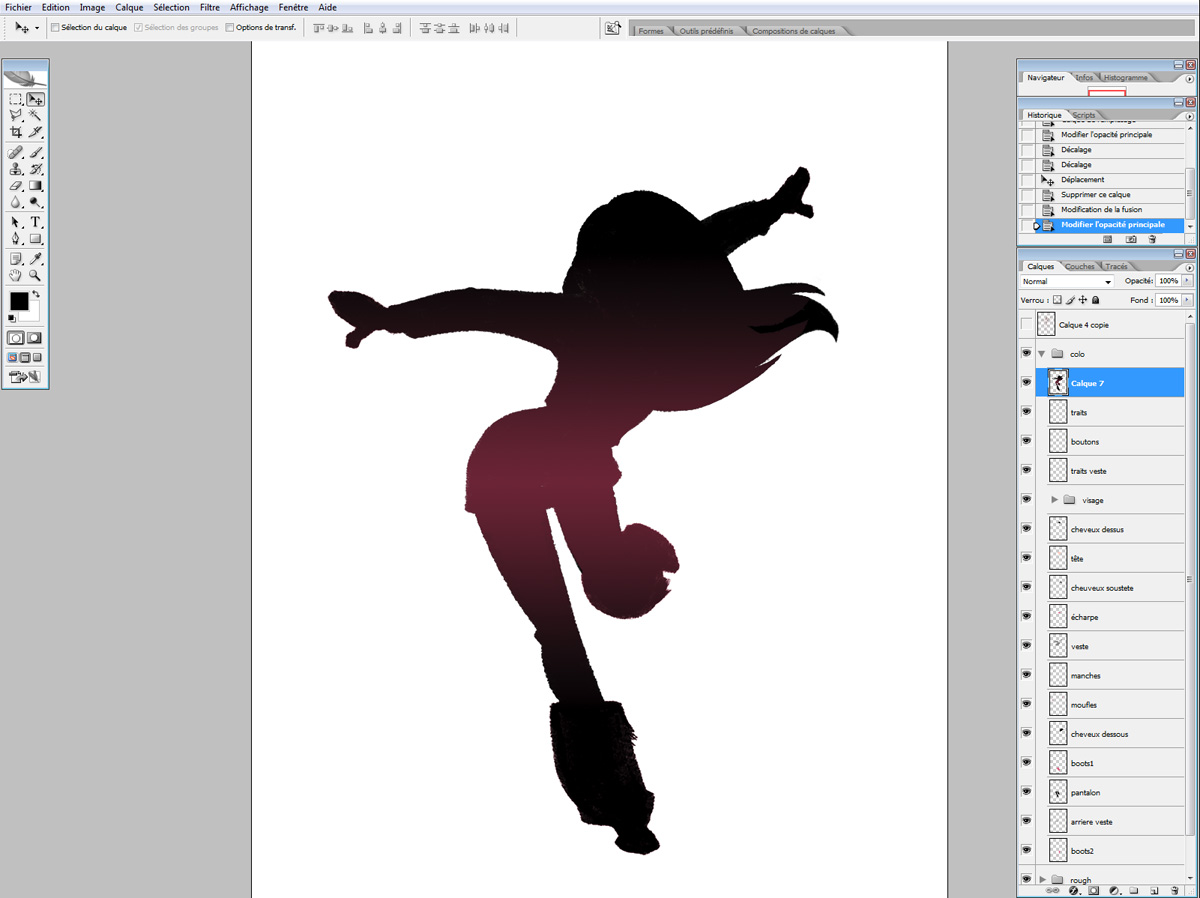
11. I set the layer in screen mode and lower the opacity.
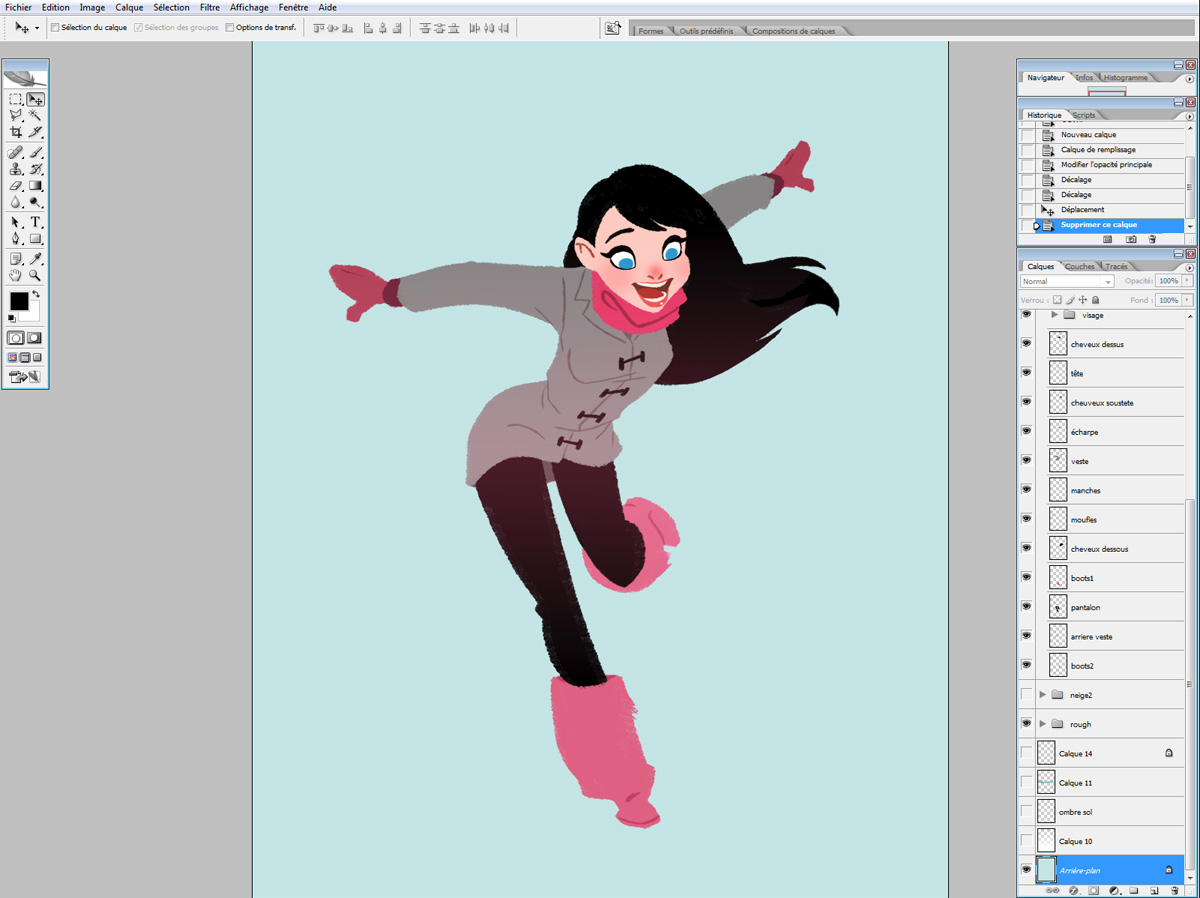
12. I start the background with the basic color.
13. I add the snow with a brush that looks like snow flakes.
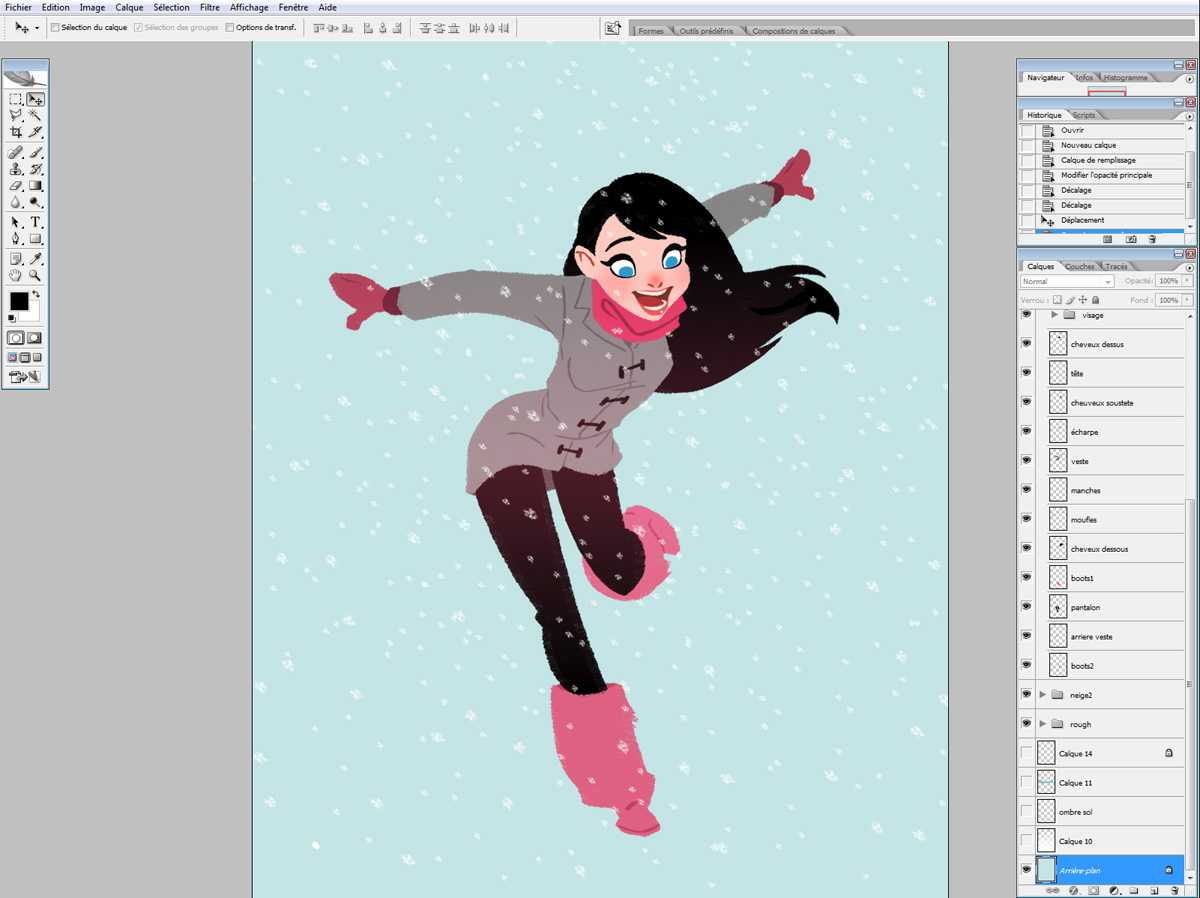
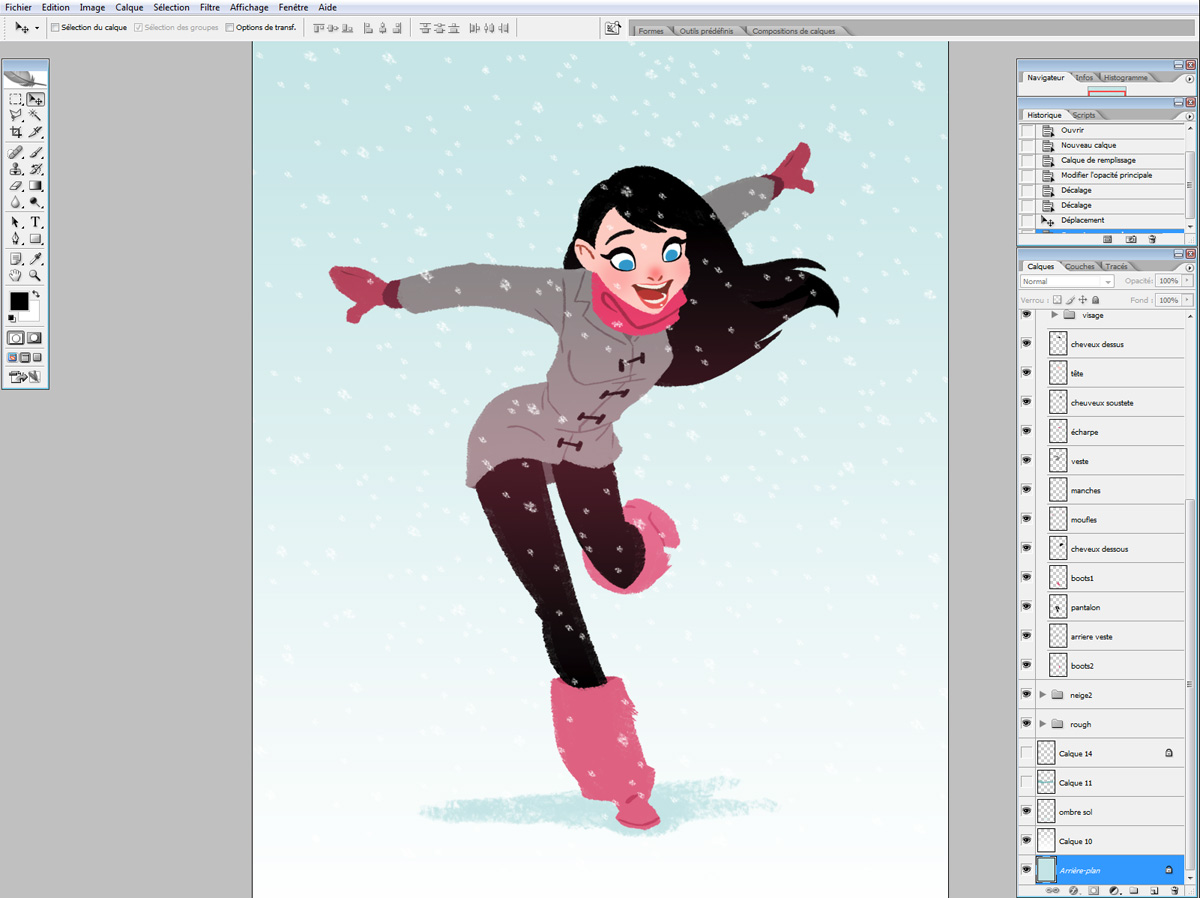
14. A white gradiant to suggest the snow on the floor.

15. A quick shadow on the ground to set the character in the environment.
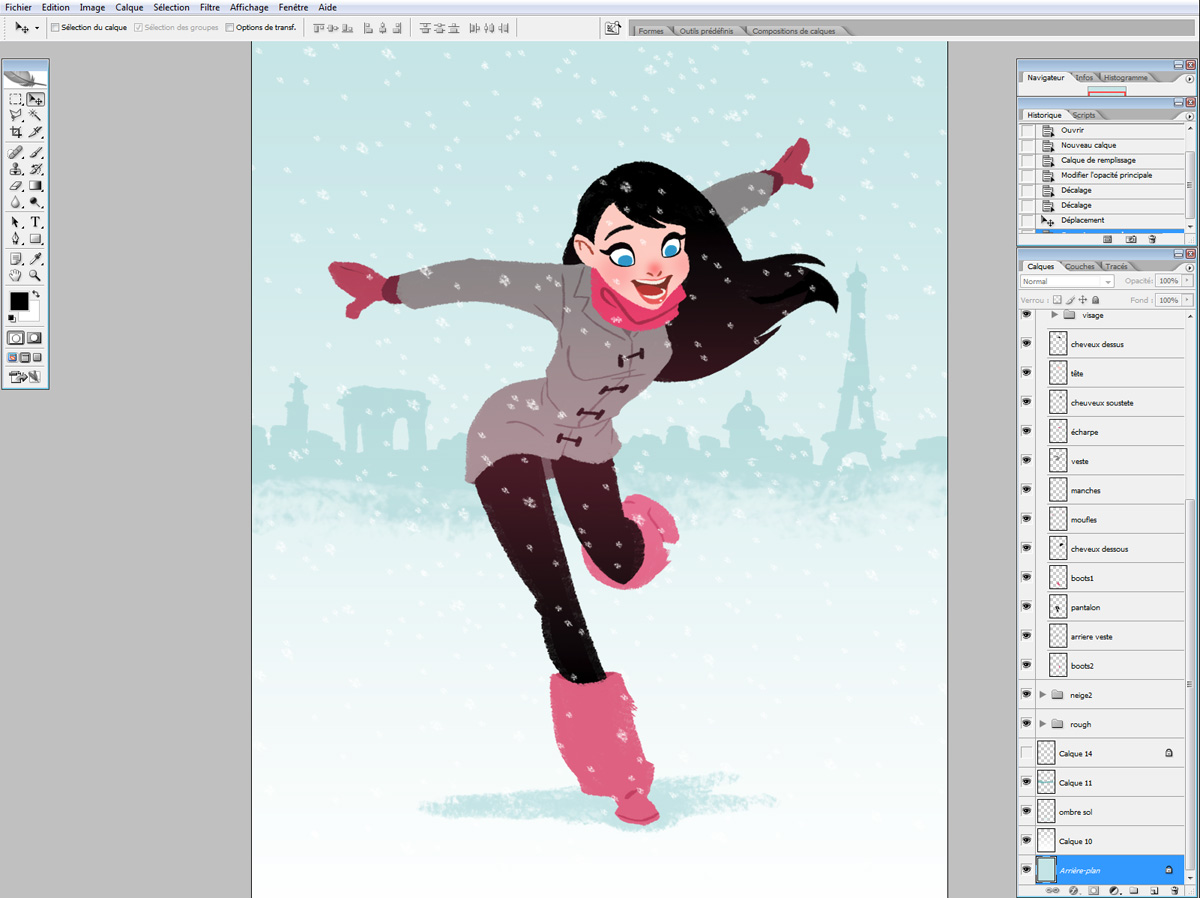
16. A quick skyline of Paris.
17. I add a layer of noise.
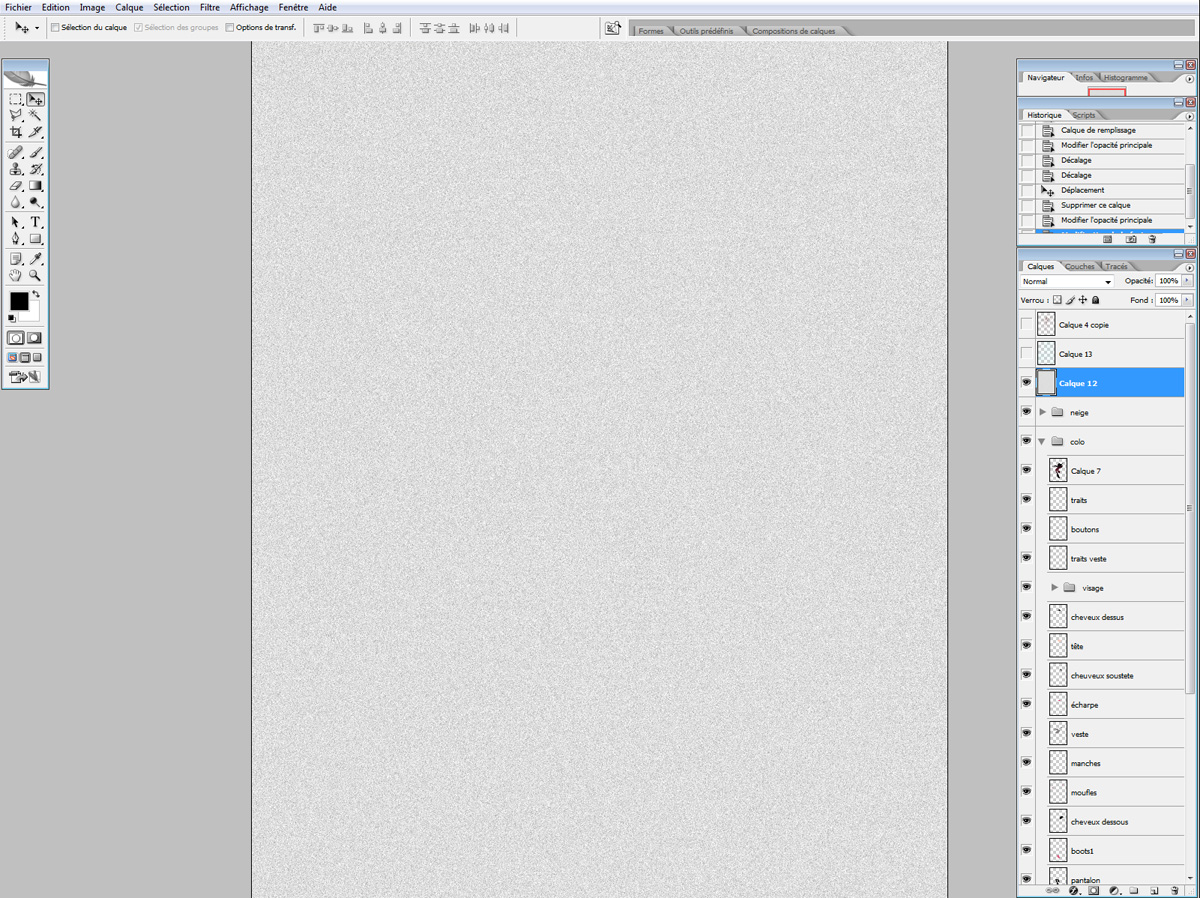
18. I lower the opacity and set it to color burn.
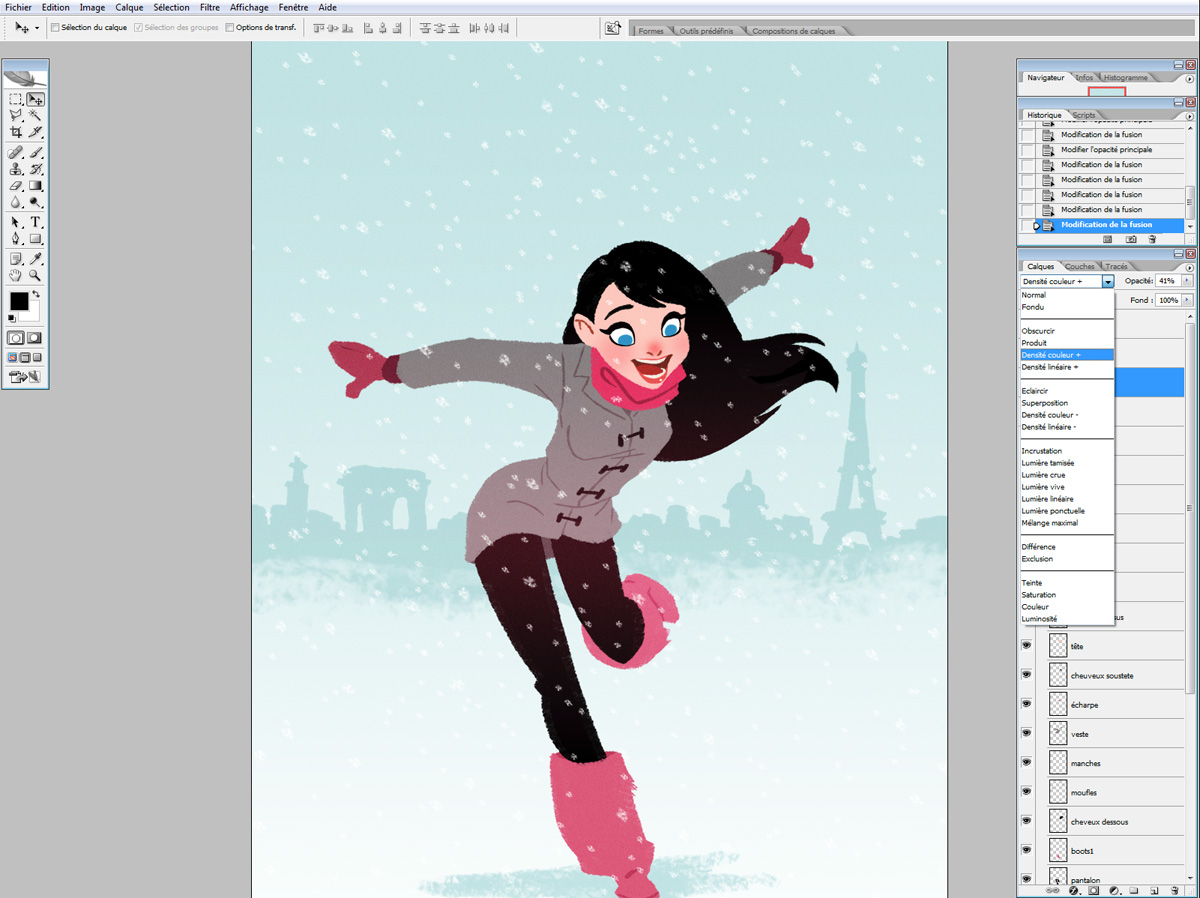
19. I had place paper texture layer on top that I tinted blue.
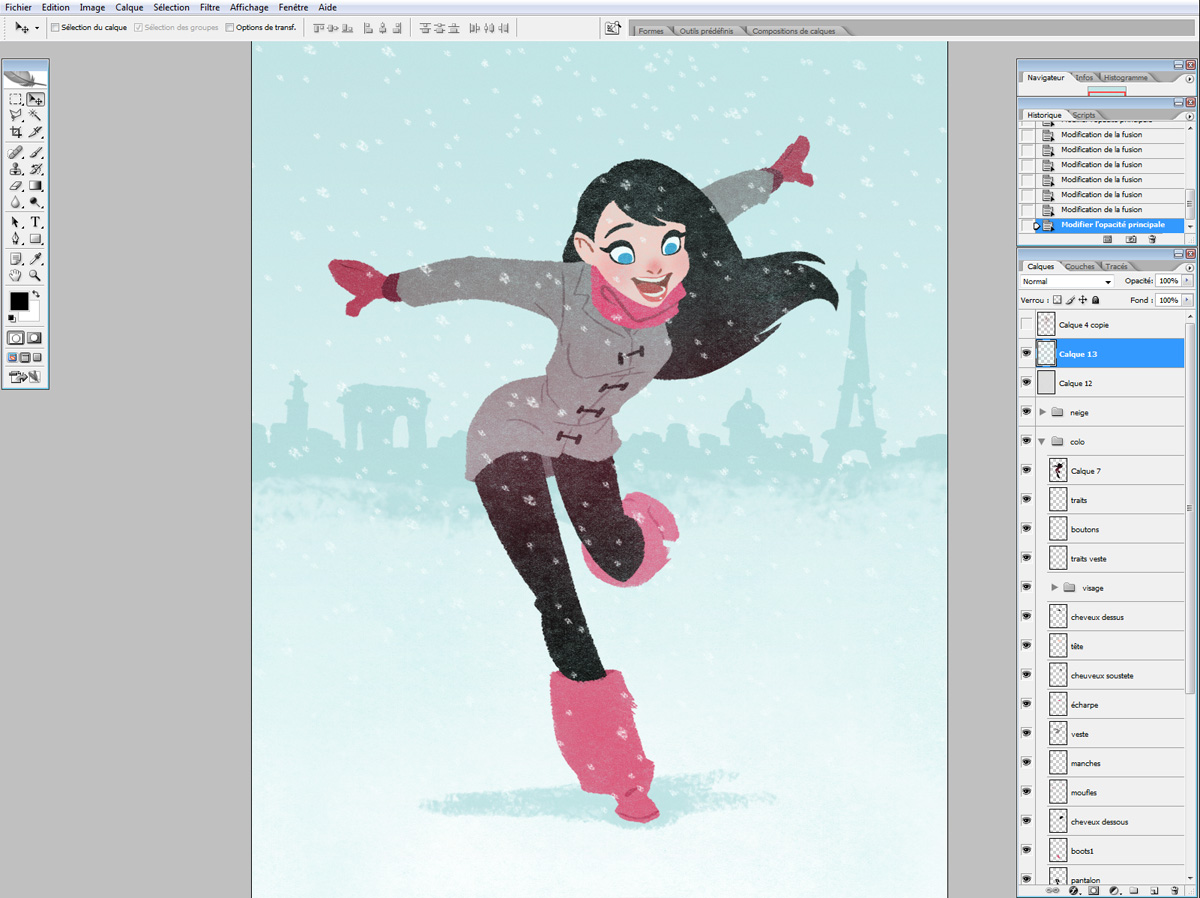
20. I set it to screen and lower the opacity.
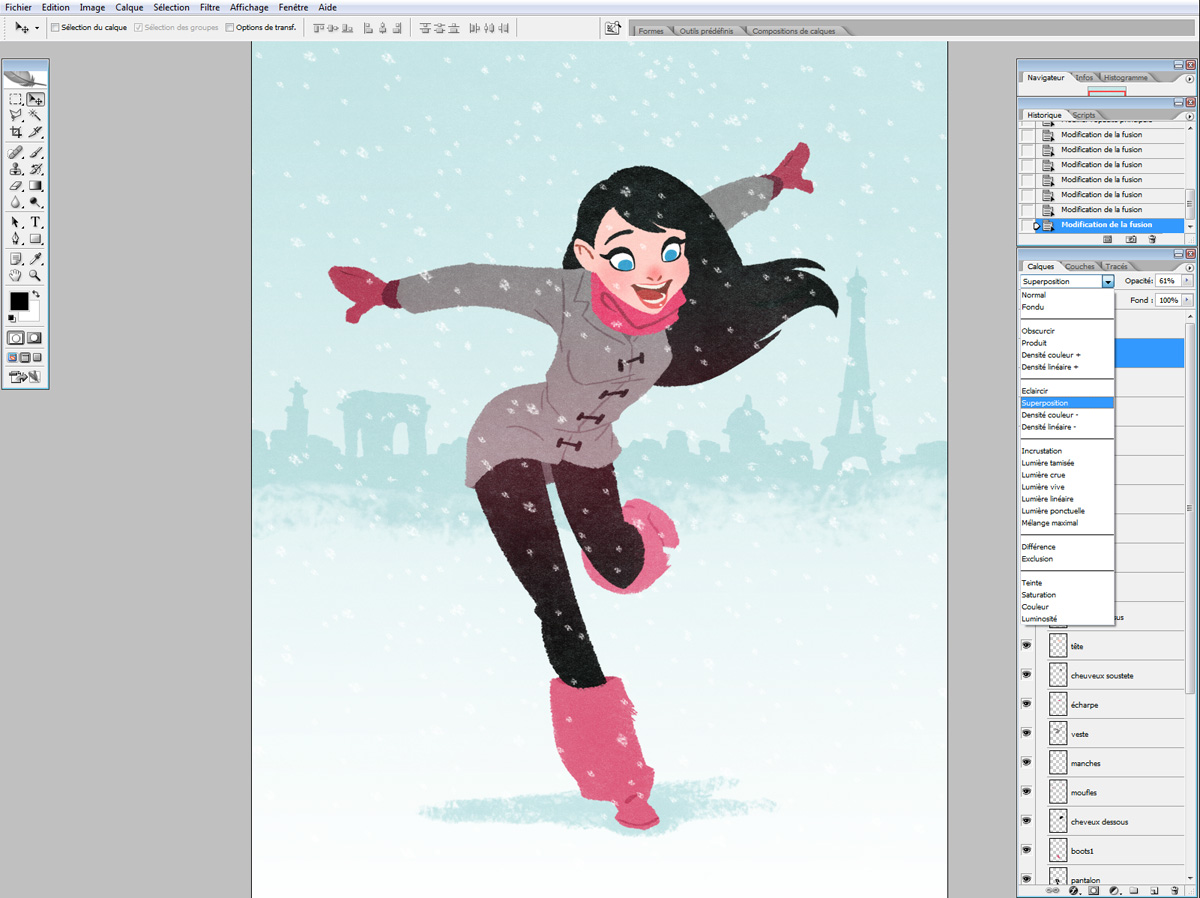
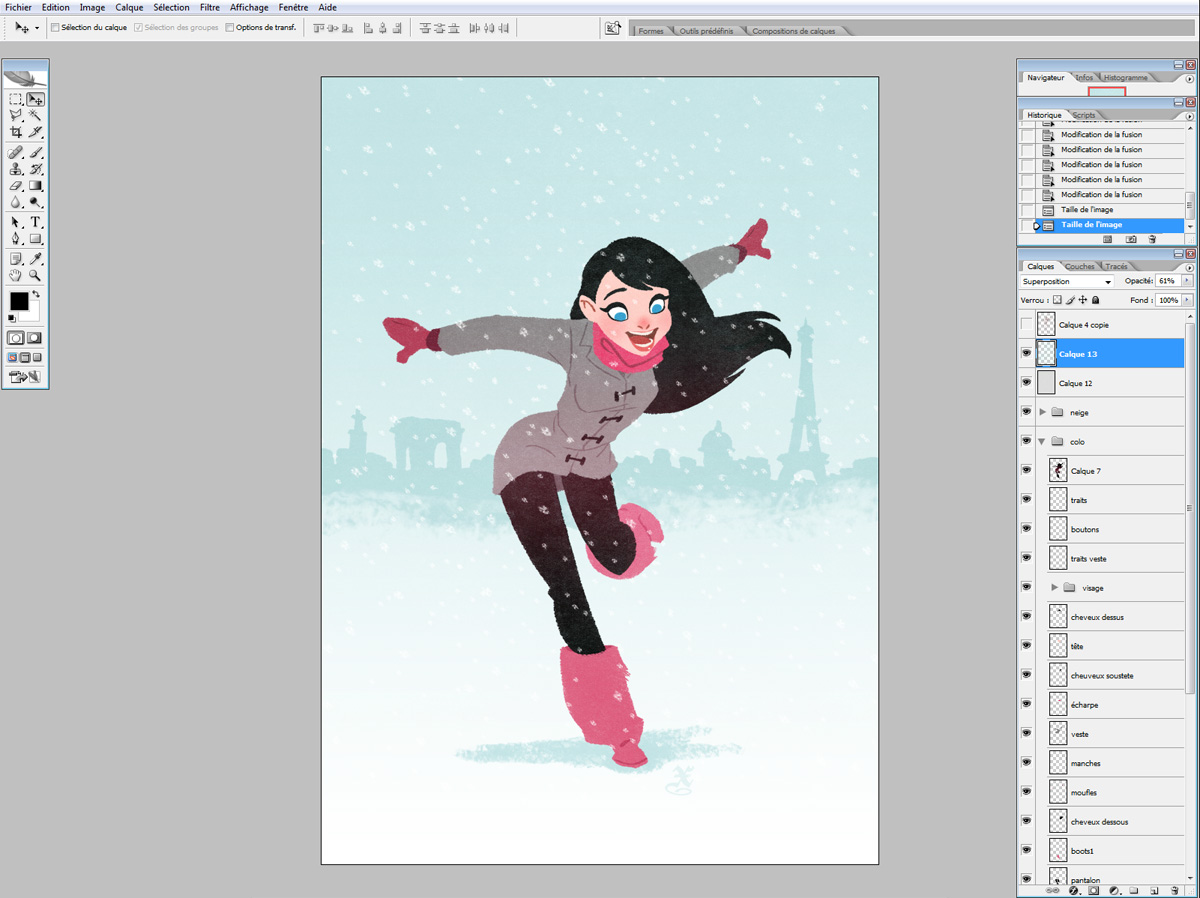
21. And voila!

No comments:
Post a Comment